Start with a cup and a cardboard sleeve. Carefully cut the bottom out of your cup. You can use any size but make sure it is a new cup...I have never had success washing a used cup unless you dig that wrinkled wet paper look.

 Flatten the cup and cut up both sides to form the front and back covers. Cut out the Starbucks logo from the cardboard sleeve leaving as much extra around the green circle as you can. Now if you are a very clean and straight scrapbooker this may be stepping out of your box. There is nothing precise about these books. They are very gypsy looking and are not meant to outlive your grandchildren. So toss aside the ruler, get out all your bits and bobs and just go with it!
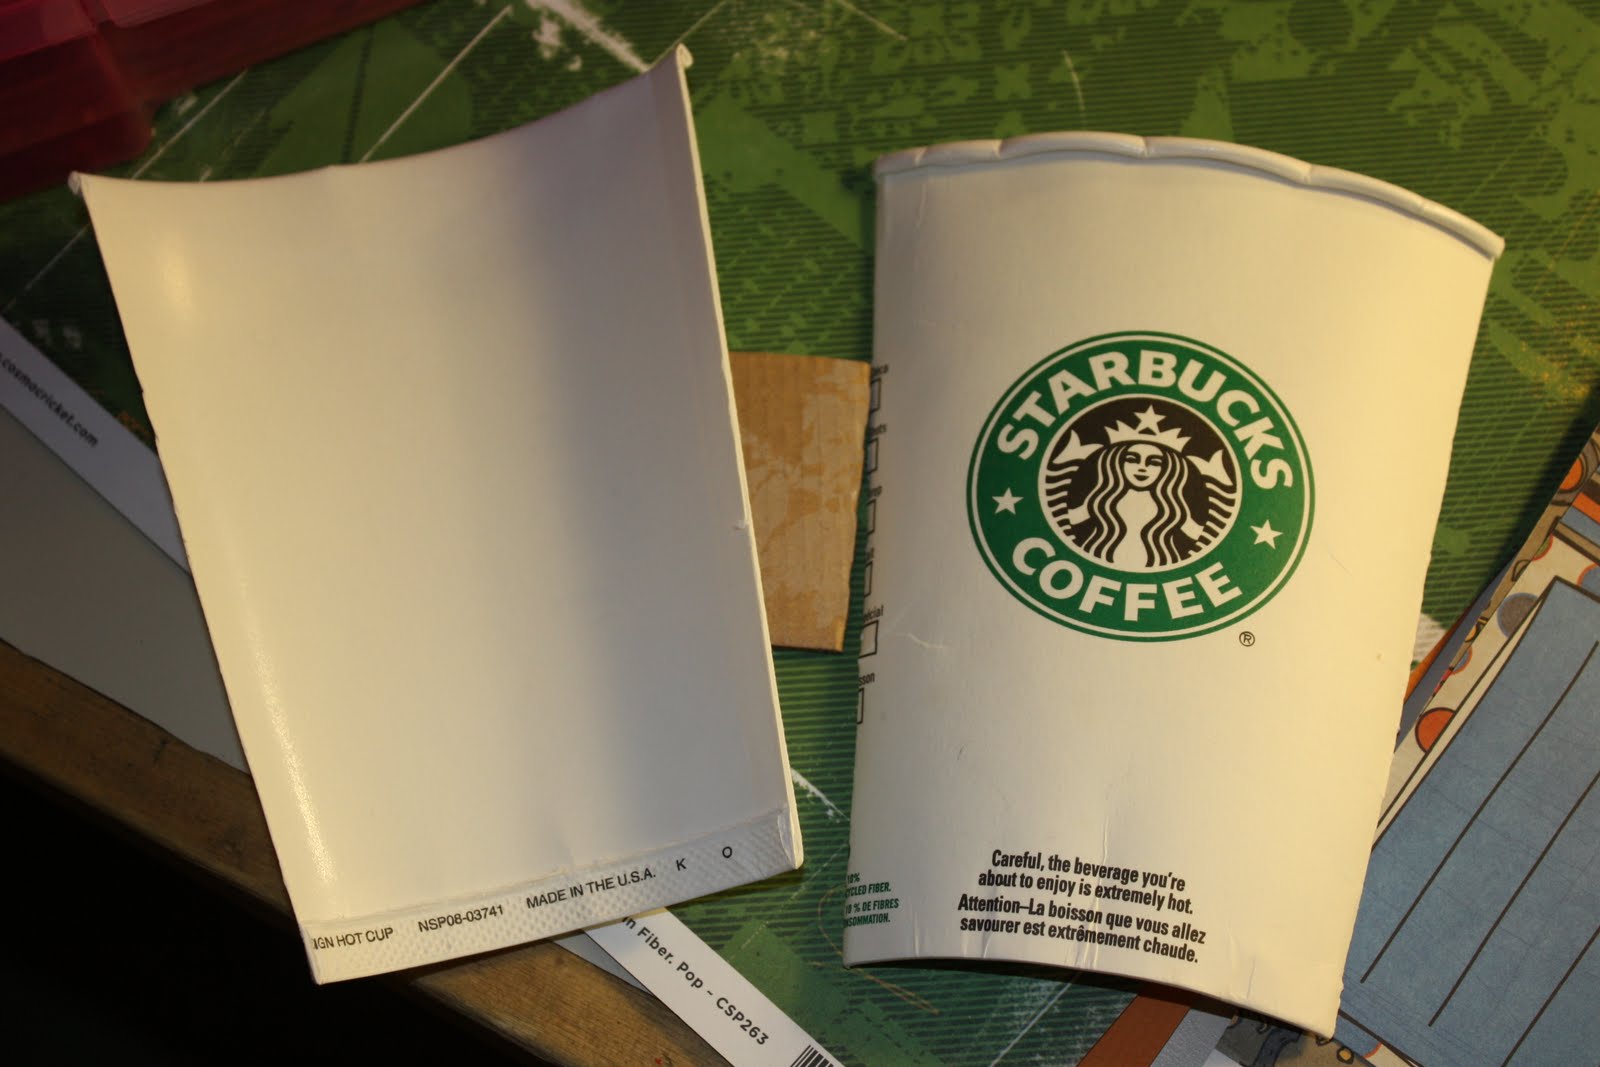 Note*** I accidentally cut really close to the green on this one. I usually leave as much cardboard as I can so I can sew this circle onto the front cover***
 I use the front cover as a guide to trace out as many pages as I want. Use good, heavy card stock or chipboard! Remember, not everything needs to accommodate a photo. I love to put in pockets, transparencies, little journal tags and whatever else strikes my fancy. So the pages I do here are only a base. Watch out if you use a trimmer while doing this...the pages are somewhat V shaped. Smaller at the bottom and wider at the top.
 Then I start with the front cover and work my way to the back! The covers are always my favourite because they can actually handle quite a bit of abuse. I like to do really heavy sewing on them...it makes me happy. But first I dive into a little ink and glimmer mist just to give it an interesting base.
 And then hop on the sewing machine to make it look like this. I love to use the extra cardboard for making tabs. And what project is complete without ric rac? I take the front cover just to this point...there is MUCH more I want to add but I still have to bind it. So stop yourself from adding and move on. Just for now.
 The inside of the front cover. I stamped it with a messy background stamp and added the chipboard buttons to dress up the sewn circle. If you don't know what else to go with, a stamped quote is a nice go-to embellishment.
 It had a good number of pages so I will just highlight a few. I used scrap fabric to create a pocket and tag.
 The green cloud is not part of the page...it will hang all on it's own as a smaller page. Don't be afraid to mix it up and add different sizes and shapes! This type of book is wonderful for using up scraps of things you didn't want to throw away but had no idea what you were going to use it for. I have a whole Rubbermaid bin full of stuff that falls into that category!
 This photo actually shows 3 separate "pages". There is the base page, the cute little polka dot transparency and the chipboard key which attached to one ring and kind of nicely hung out all on it's own.
 Back cover. Love that sewing. It adds so much texture.
When I am done all the pages I put them all together and see what my best plan of action is for binding. I generally like to use the metal rings...2, 3 or 4 depending on the size of the book. You could also sew it together (my poor little EuroPro!) or use a Cinch or a Zutter. I happen to have a Zutter but I find for this project I don't like how the coils sit. It's all a matter of taste. So I line up the front cover how I want it and punch the appropriate amount of holes with my Crop-A-Dile. Then I hold the next page against the cover and punch it too. Then the third page against the first page and so on and so on using the previously punched page as a guide for the next page so it all lines up.
When I am all finished lining up, stacking and binding I finish blinging up the front cover and add ribbon to the metal rings. You can use as much ribbon as you want...I just put 3 pieces on the top ring for a little more embellishment.
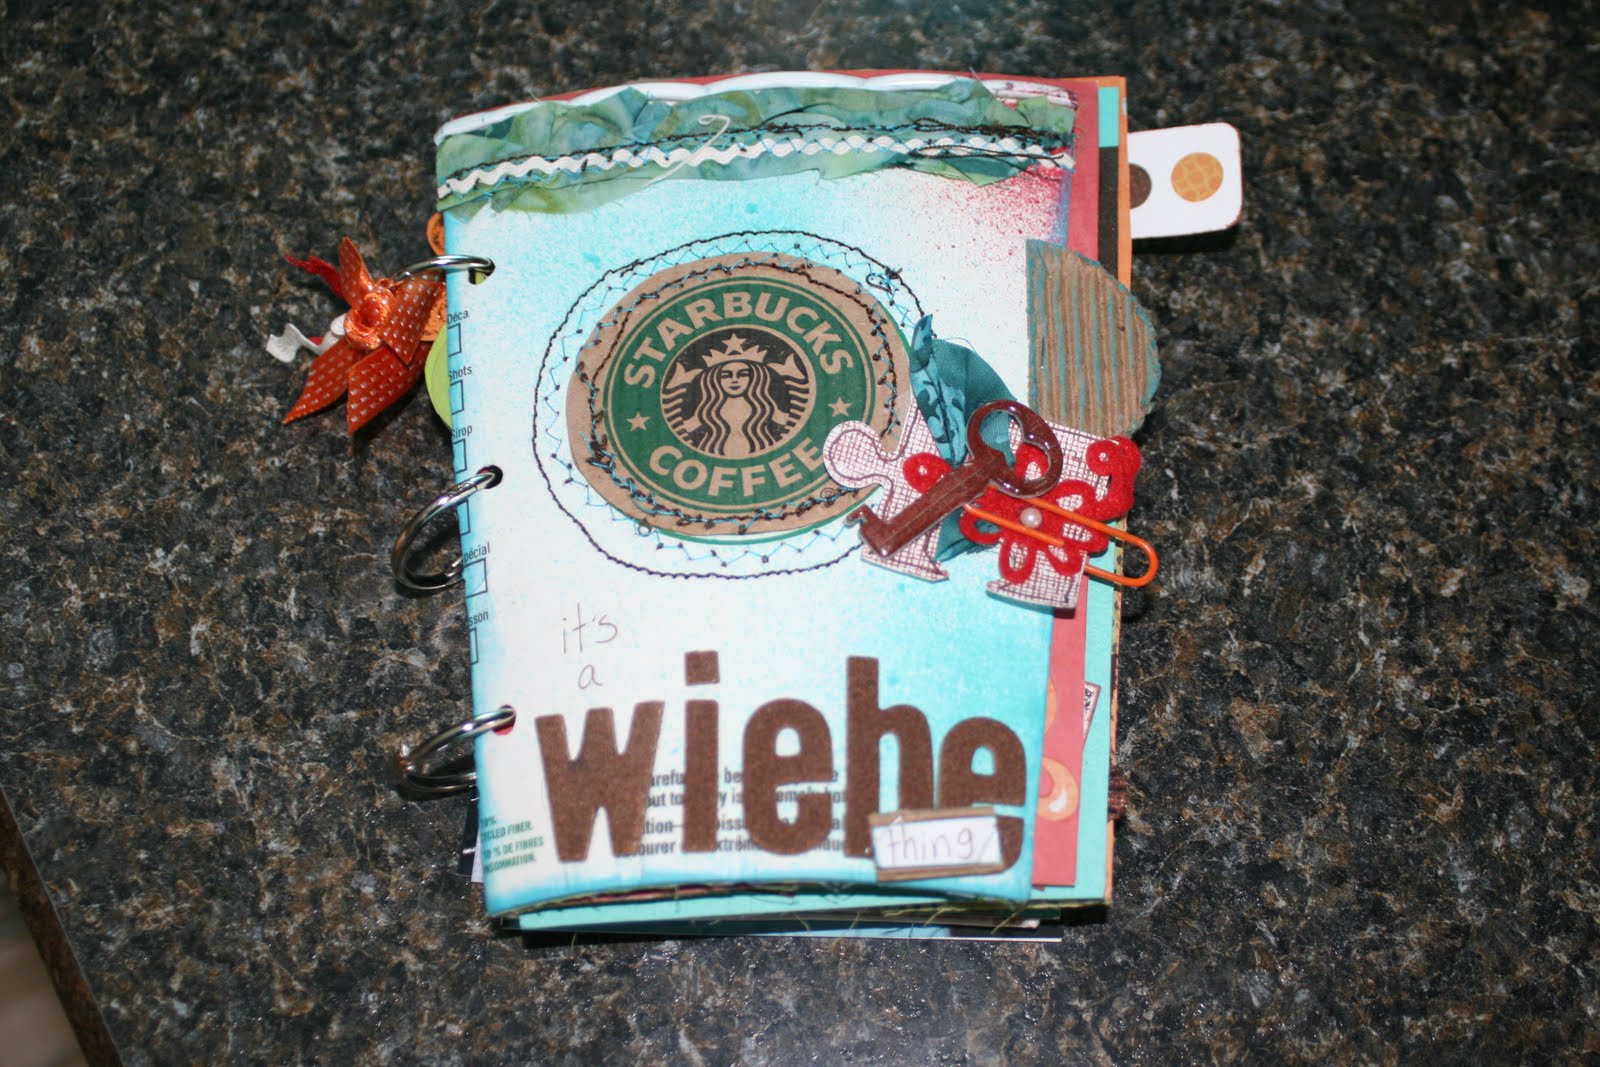 Funny side note...I happened to use a bunch of chipboard puzzle pieces on the cover and on a few of the inside pages and Char got all excited about it and thanked me for using them when I gave her the finished book. I was a little confused. Um...you are welcome? For using puzzle pieces? Then she reminded me that the puzzle piece is the logo for Autism Awareness. Char's youngest is autistic...and I had forgotten about the significance of the puzzle piece and just used it by accident. Wonderful coincidence! It's a God thing. xo